STE Cryostat Pictures
Taken during their construction
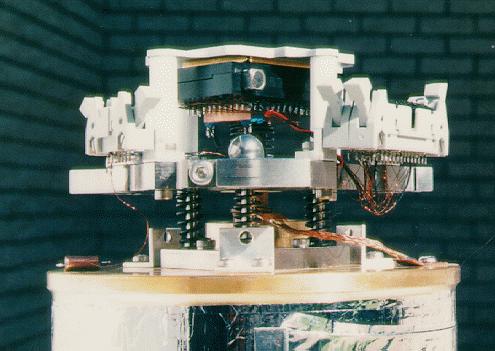
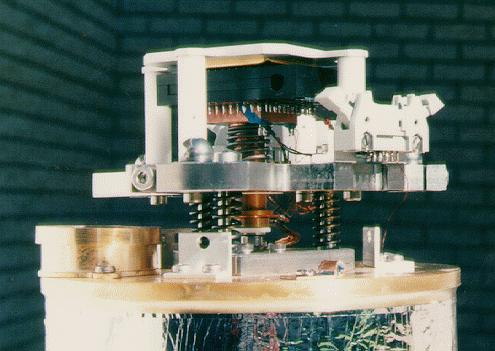
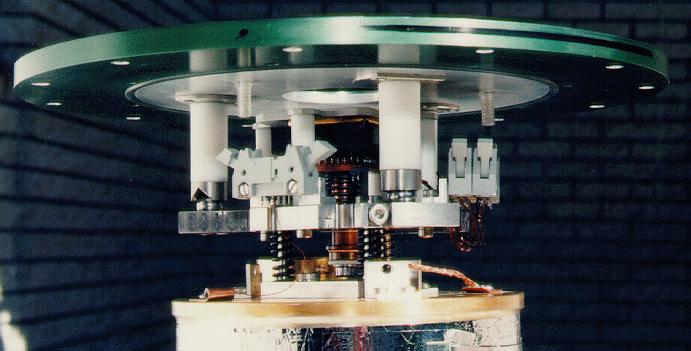
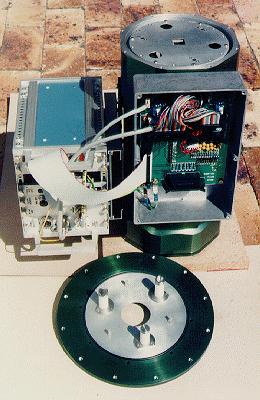
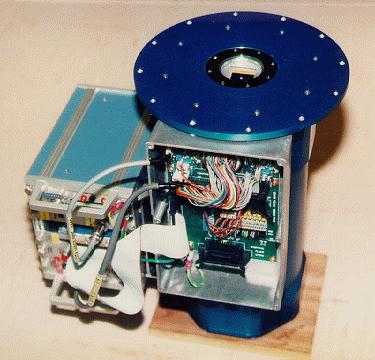
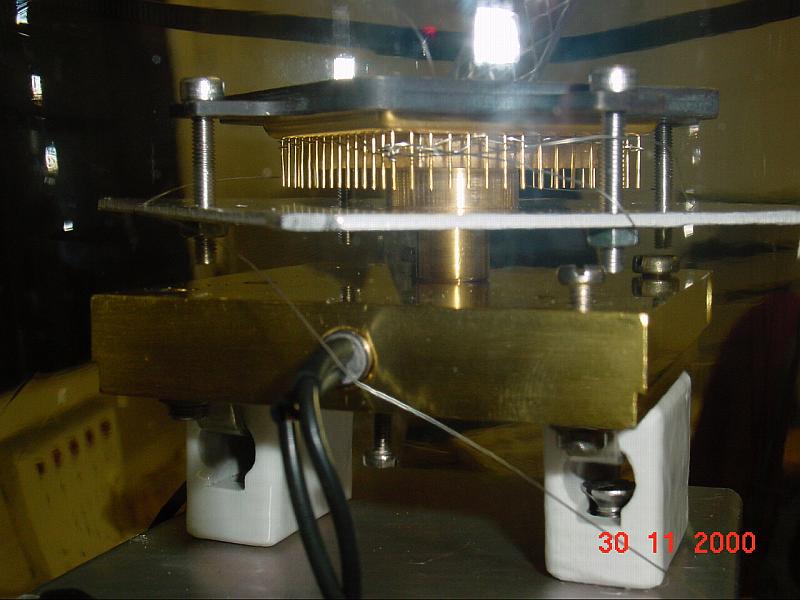
Side view, showing CCD- and kinematic mounting
side1.jpg /
side2.jpg /
sidekinm.jpg
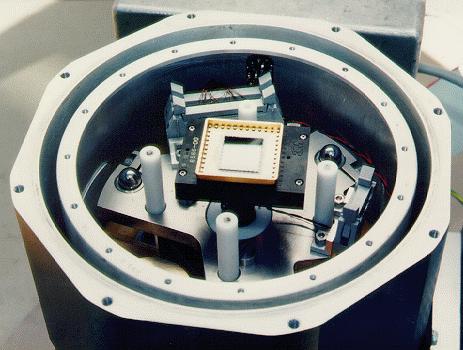
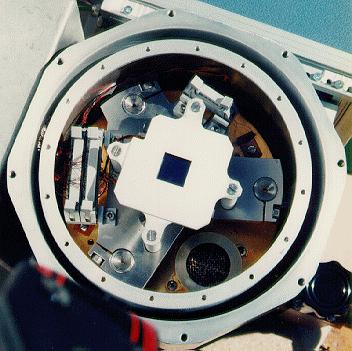
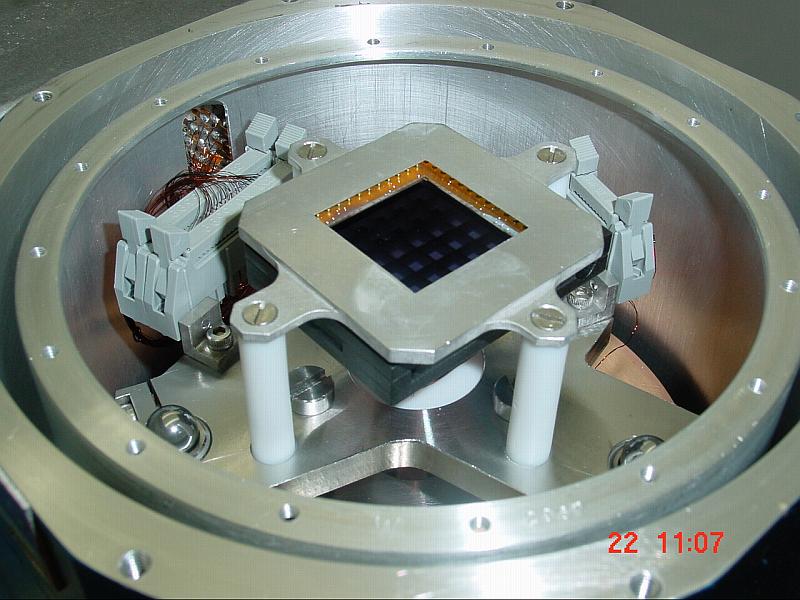
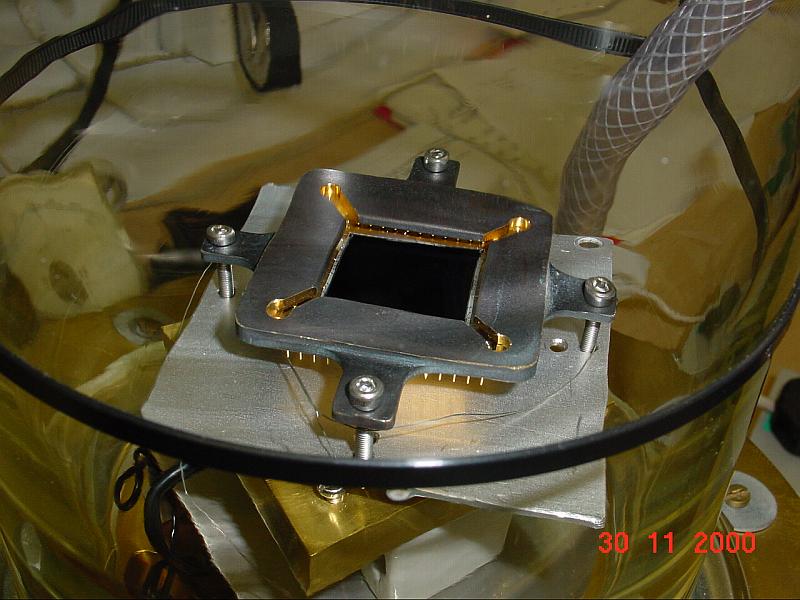
Looking in from above
clampoff.jpg /
topview.jpg
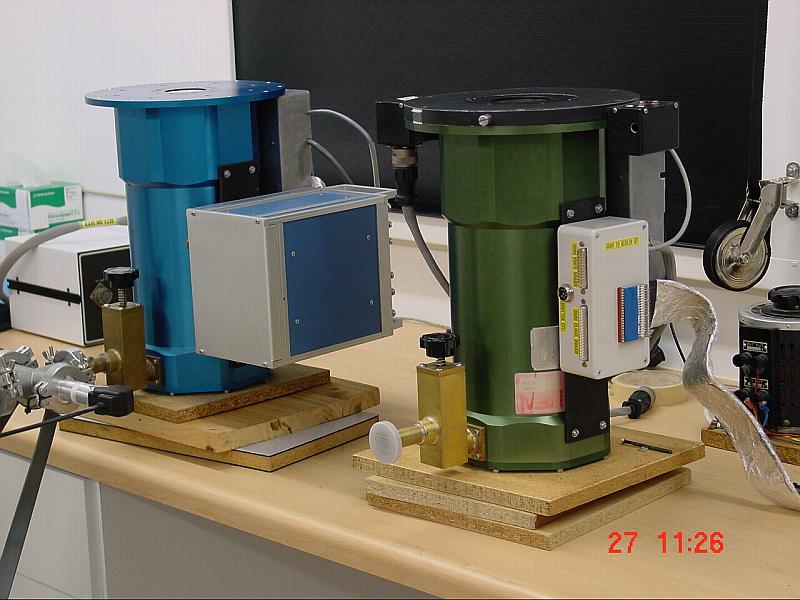
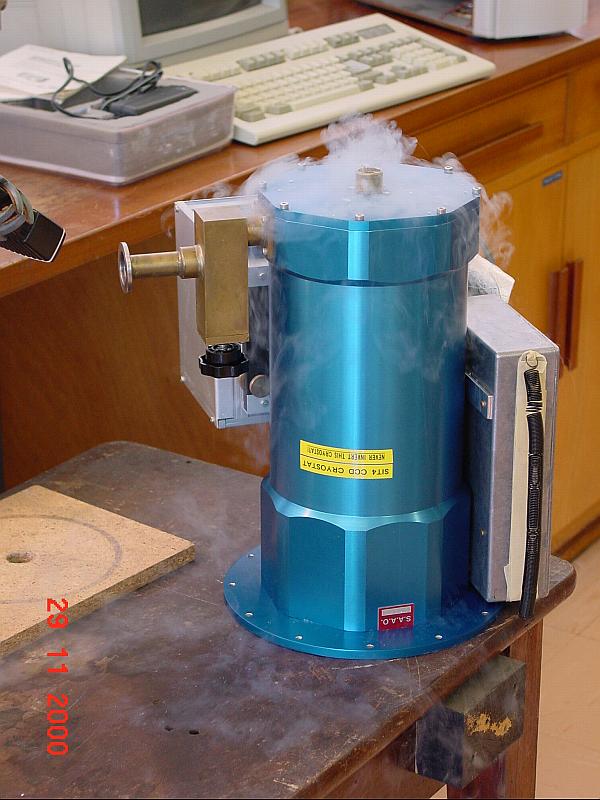
Two completed systems
grncryo.jpg /
bluecryo.jpg
Taken during Chip Cleaning in November 2000
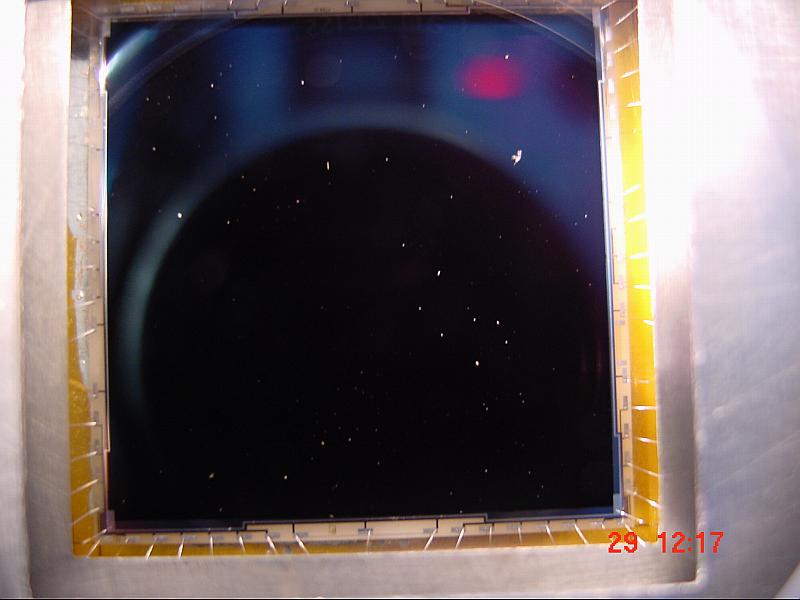
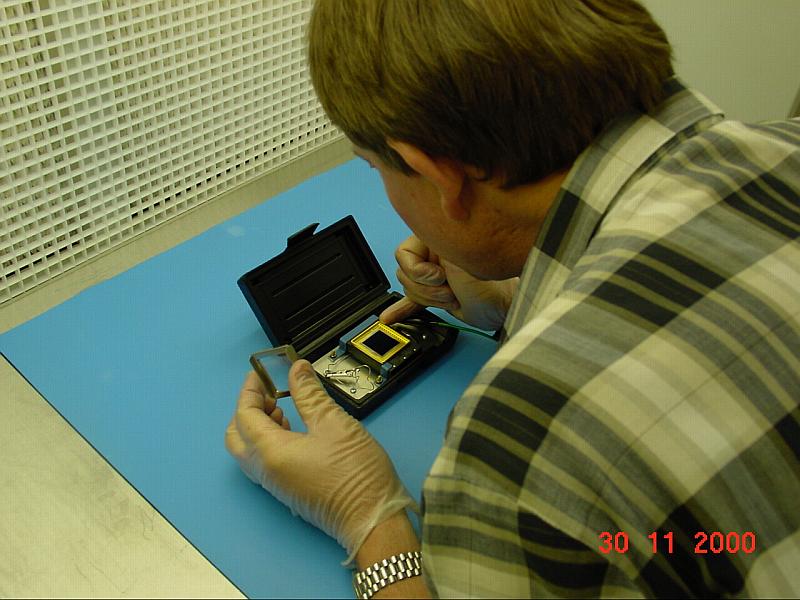
Preparing
ste3&4.jpg /
ste4-empty.jpg
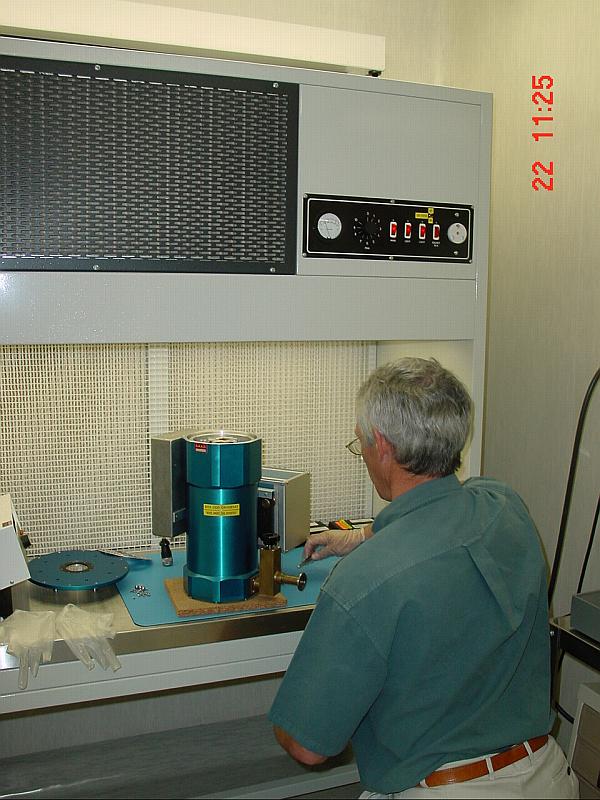
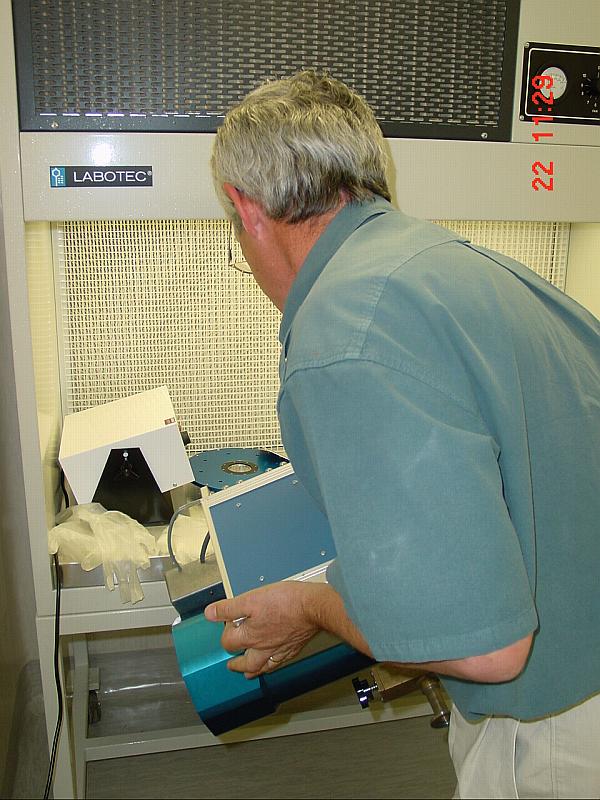
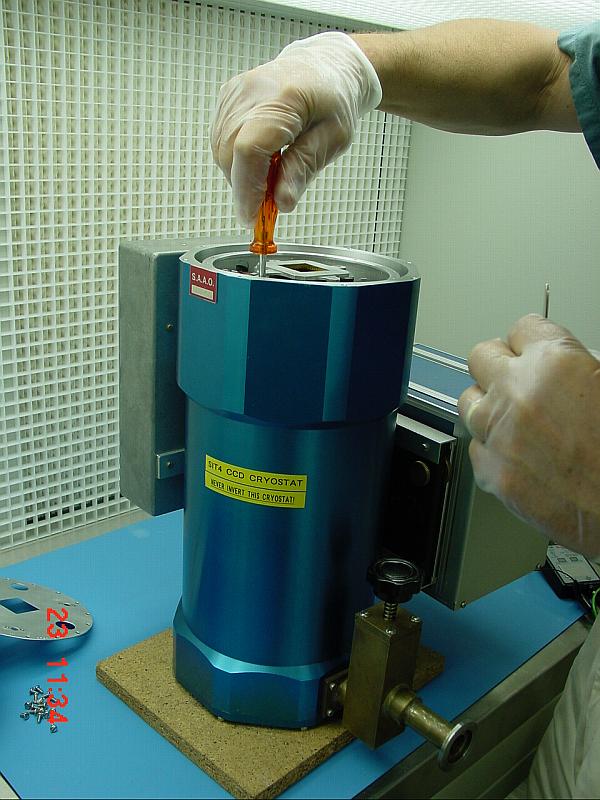
Taking apart
lamflowbench-a.jpg /
ste4cryo-a.jpg /
ste4cryo-d.jpg /
ste4cryo-f.jpg /
ste4dirt1.jpg
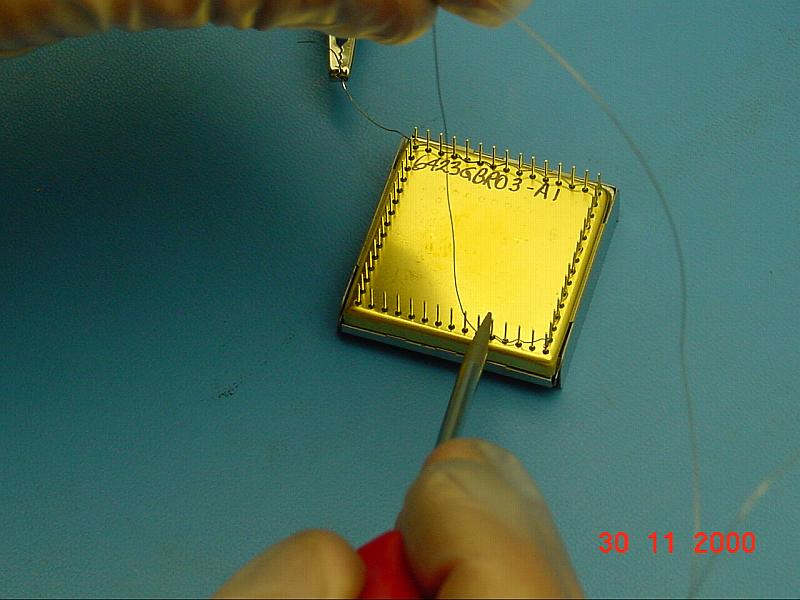
Shorting out CCD pins
ste4wash-a.jpg /
ste4wash-b.jpg /
ste4wash-c.jpg
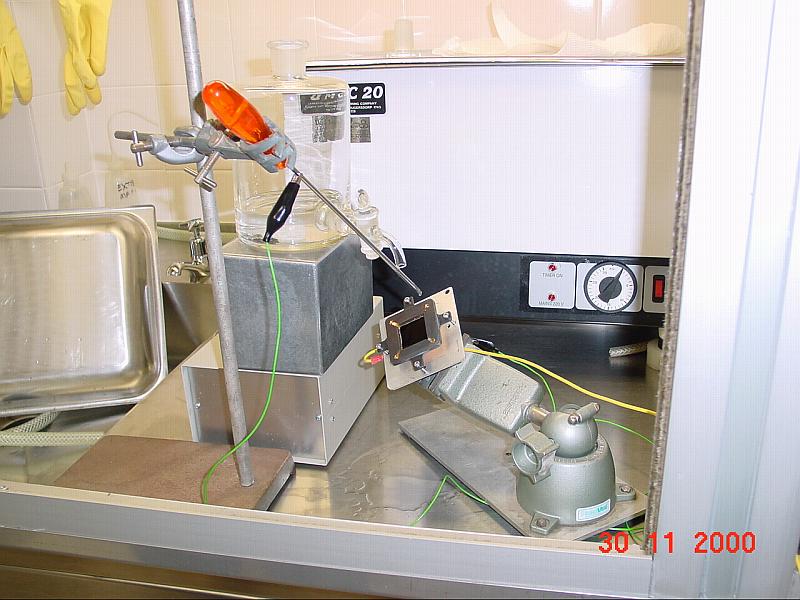
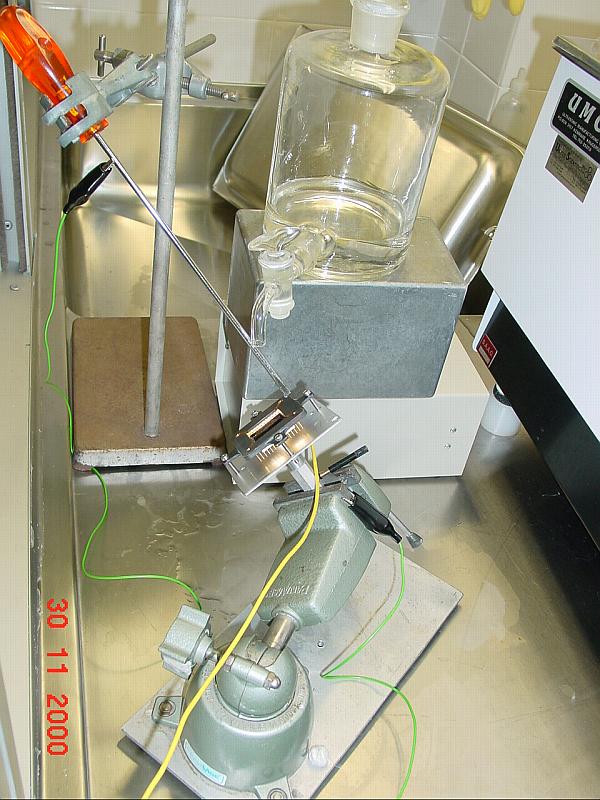
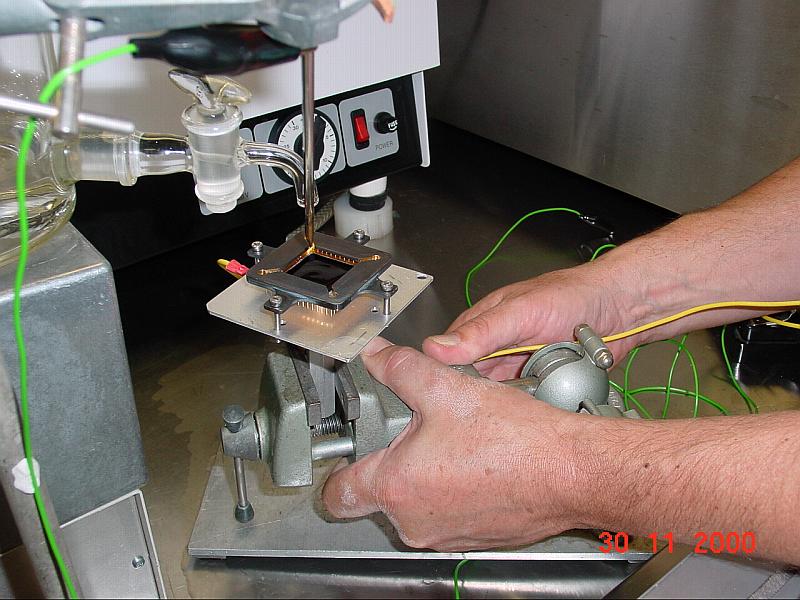
The washing process
NB! DO NOT USE BLACKENED CCD CLAMP AS SHOWN IN PICTURES!
- The setup - ste4wash-d.jpg /
ste4wash-e.jpg
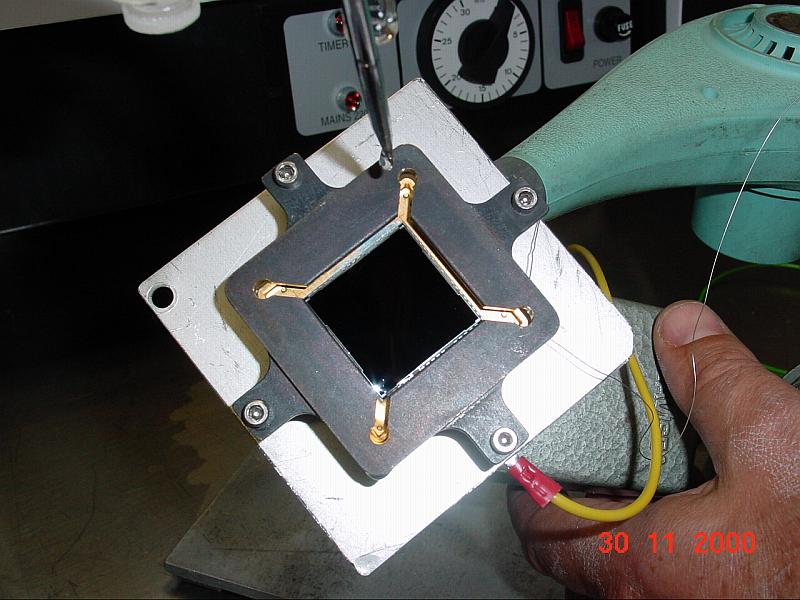
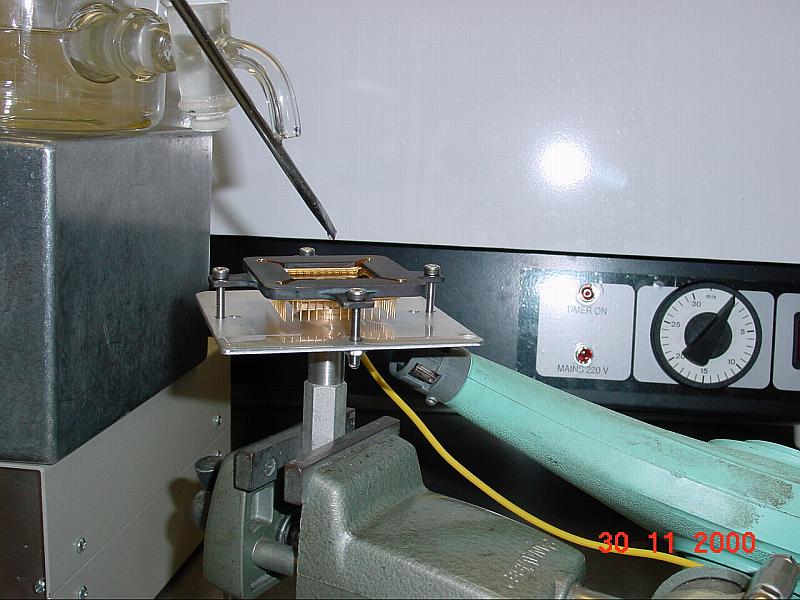
- Acetone washing, close up - ste4wash-l.jpg
- Heating, to prevent condensation - ste4wash-k.jpg
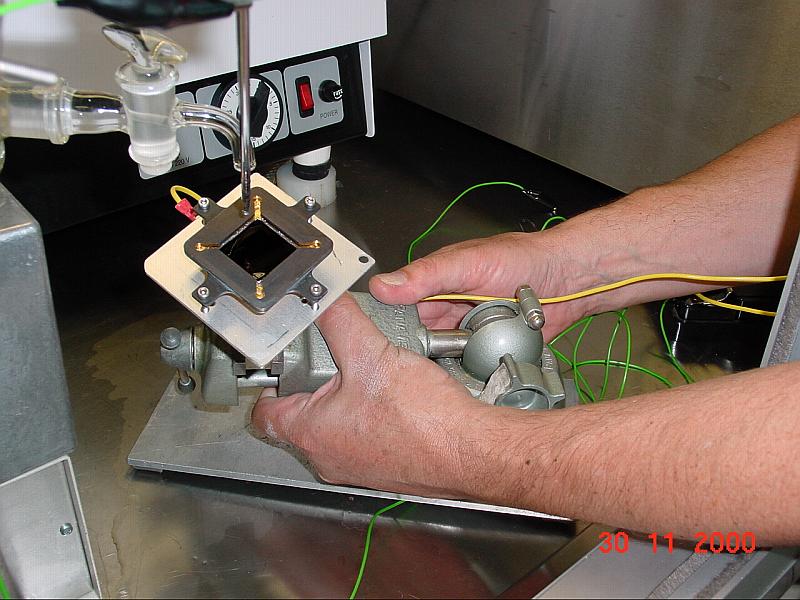
- Rotating the chip - ste4wash-f.jpg
- Change from Acetone to Isopropyl Alcohol and repeat
- Tip to horizontal - ste4wash-g.jpg /
ste4wash-h.jpg
- Keep up accational heating - ste4wash-j.jpg
- Increase flow when bucket is full - ste4wash-m.jpg
- Transfer chip on copper block to belljar
- Vacuum-bake CCD - ste4bake-a.jpg /
ste4bake-b.jpg
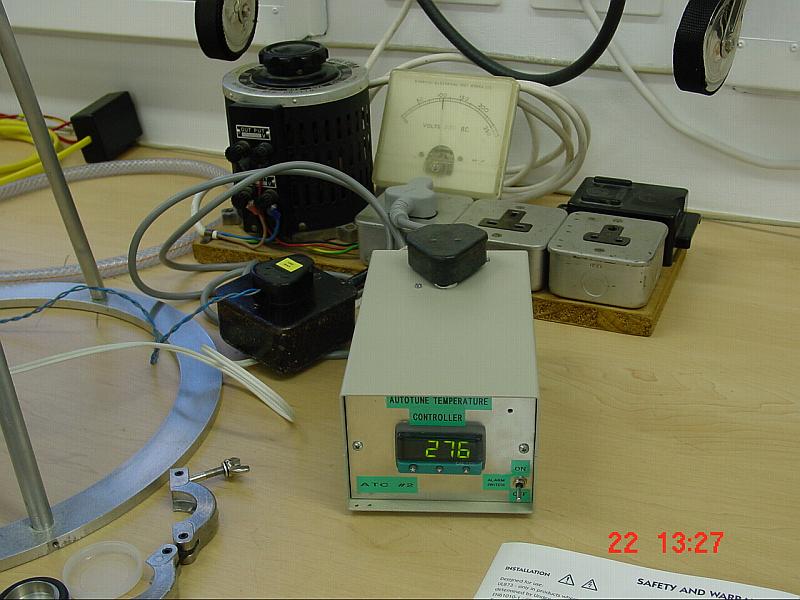
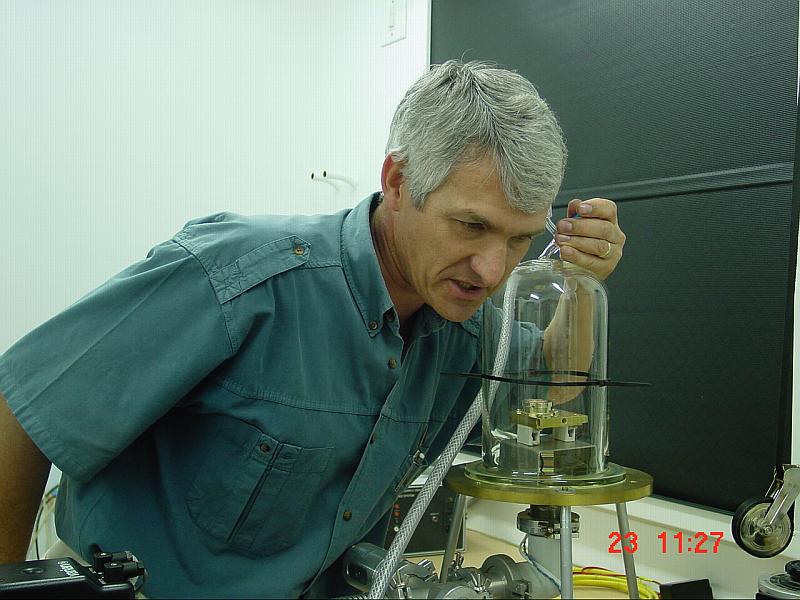
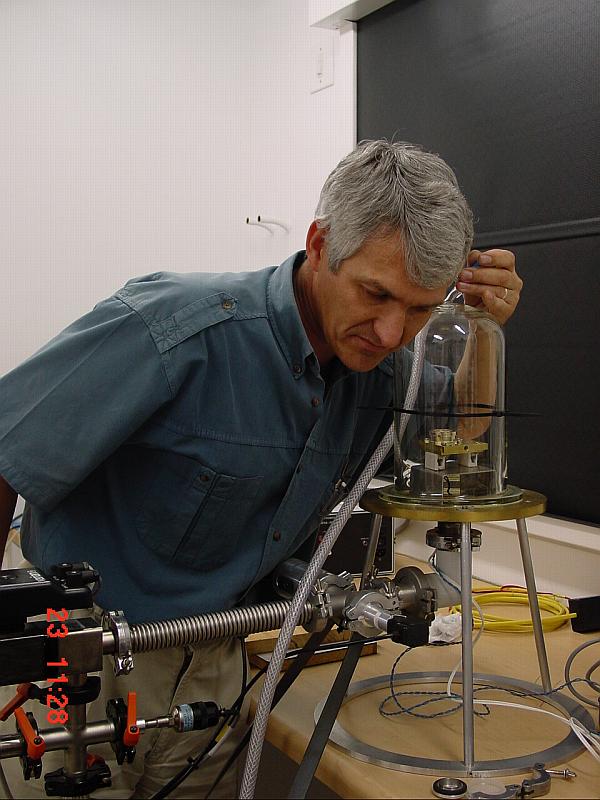
- Vacuum-bake Zeolite @ 276°C - zeolitebake-a.jpg /
vacbakesetup-a.jpg
- Release vacuum after cooldown - vacbakesetup-b.jpg /
vacbakesetup-c.jpg